

I independently research and test products to help you make the best choice. As an Amazon Associate I earn from qualifying purchases at no extra cost to you.
An over extracted espresso tastes bitter and dries your mouth out. An under extracted one tastes sour and thin. Almost every bad shot you will pull at home is one of those two, and the fix is usually a single variable moved in a single direction.
The problem is that most advice stops at "adjust your grind" without telling you which way, or what to check first, or what to do when the shot manages to taste sour and bitter at the same time. That last one is the case nobody explains, and it is the one that sends people out to buy a new machine they did not need.
What Extraction Actually Means
Extraction is how much of the coffee ends up dissolved in your cup. Water goes through the puck, pulls compounds out of the grounds, and the amount it pulls decides how the shot tastes.
Those compounds do not all come out at once. They leave the coffee in a rough order:
- First out: acids and fruit. Bright, sharp, sour if there is nothing to balance them.
- Next: sugars and caramels. This is the sweetness and the body, the good part.
- Last: bitter compounds and dry, woody, astringent ones.
A good shot stops after the sugars and before the bitterness. Stop too early and you get the acids without the sweetness, which is under extraction, and it tastes sour. Go too long and you collect the bitter end, which is over extraction.
That is the whole model. Everything below is just how to tell which side you landed on and what to move.
Sour Espresso Means You Under Extracted
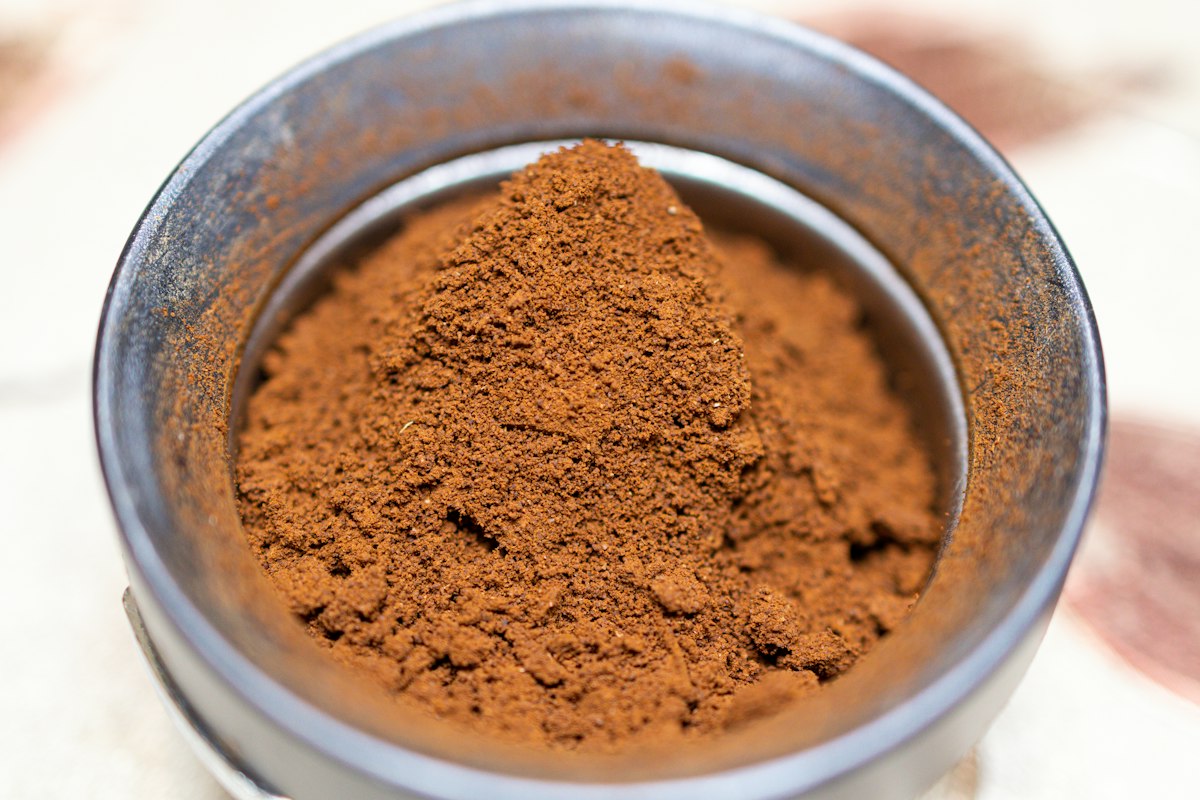
Photo by Seyed Mostafa Meshkati on Unsplash
Sour is the most common complaint from people new to espresso, and it is almost always under extraction rather than bad beans.
What it tastes like: sharp and sour at the front, sometimes almost salty. Thin in the mouth. The finish disappears quickly and leaves nothing behind. People often describe it as tasting like a lemon or like the coffee is somehow watery even though it looks dark.
What it looks like: the shot runs fast and pale. If you are hitting your target weight in fifteen seconds, that is your answer before you even taste it. Pale blonde streams early in the shot are the visual tell.
What causes it: water moved through the puck too easily. The grind is too coarse, the dose is too low for the basket, the tamp was uneven, or the water is not hot enough.
The fix, in order:
- Grind finer. Two or three steps, then pull another shot. This fixes the large majority of sour shots on its own.
- Check your dose. An 18 gram basket with 15 grams in it leaves headroom, and water will take the easy route through a loose puck.
- Let the machine heat properly. A cold group head pulls sour shots. On a single boiler this matters more than people think.
- Pull a little longer. If you are stopping at a 1:1.5 ratio and it is sour, take it to 1:2.
Bitter Espresso Means You Over Extracted
Bitter is the other direction, and it is more common once people have been chasing sour shots for a few weeks and have overcorrected.
What it tastes like: harsh and bitter, with a dry, chalky feeling on your tongue after you swallow. That drying sensation is astringency, and it is the clearest sign of an over extracted espresso. A bitter shot lingers unpleasantly in a way a sour one does not.
What it looks like: the shot crawls. Drips instead of streams, dark from the start, and it takes forty seconds or more to reach weight. Sometimes it barely comes out at all, which is called choking the machine.
What causes it: water spent too long in contact with too fine a grind, so it kept pulling long after the good compounds were gone.
The fix, in order:
- Grind coarser. Again, two or three steps at a time.
- Stop the shot earlier. If you are running to a 1:3 ratio, pull back to 1:2.
- Check your dose is not too high. Overfilling a basket chokes the puck against the shower screen.
- Consider the roast. More on this below, because it is the fix nobody mentions.
When It Tastes Sour and Bitter at the Same Time
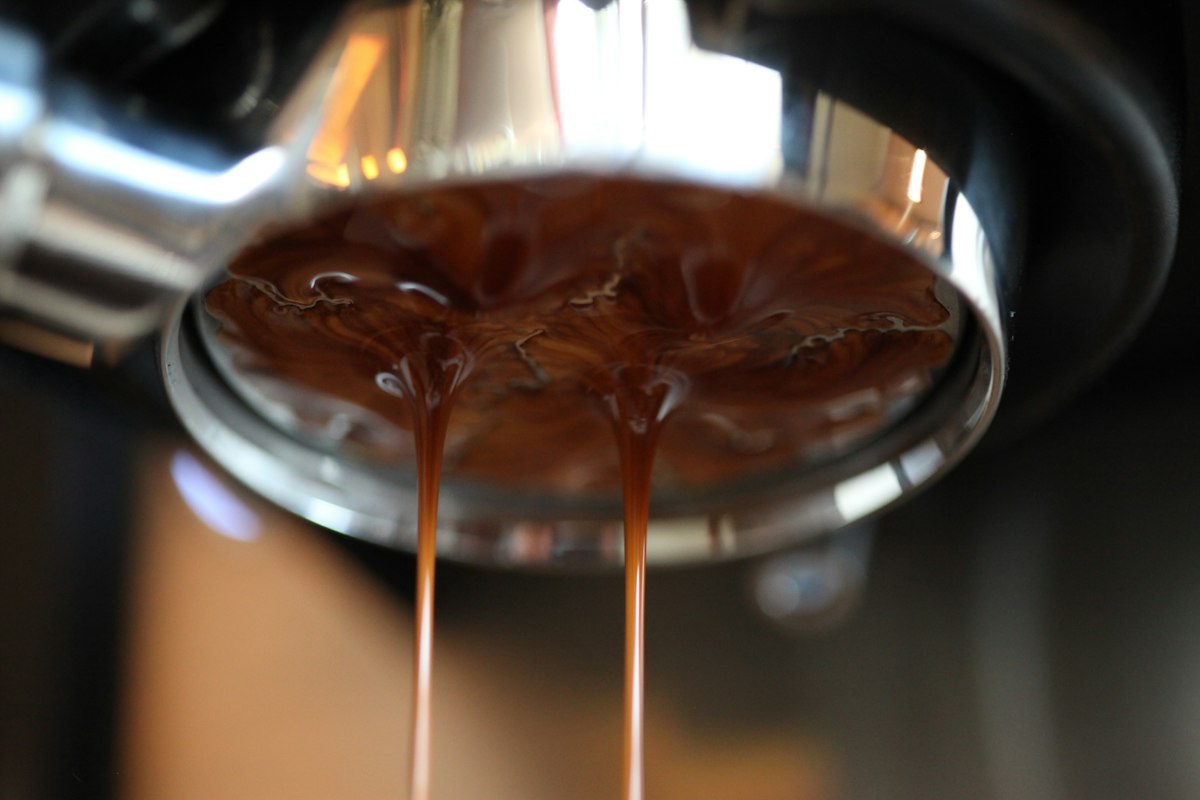
This is the case that breaks the simple model, and it is the reason people give up.
If a shot is somehow sharp and sour at the front and dry and bitter at the finish, you do not have an extraction problem you can grind your way out of. You have channeling. Water found a crack or a soft spot in the puck and rushed through it, over extracting the coffee along that channel while barely touching the rest of the puck. You are tasting both failures in one cup.
Grinding finer makes it worse. Grinding coarser makes it worse. The variable to change is not the grind, it is how evenly the coffee sits in the basket before the water arrives.
The fixes:
- Break up the clumps. Even good grinders throw clumps, and a clump is a dense spot the water goes around instead of through. A distribution tool with fine needles solves this in about ten seconds.
- Tamp level. Not harder, level. A tilted tamp makes one side of the puck denser than the other and water always finds the loose side.
- Do not knock the portafilter after tamping. Tapping it to "settle" the puck cracks the surface, and a crack is a channel waiting to happen.
I use a Normcore WDT distribution tool every single shot, and it was the cheapest thing on my counter that made a visible difference. I wrote up the whole case for it in my WDT tool post.
👉 Check the current price of the Normcore WDT tool on Amazon
The Order to Change Things
Here is where most troubleshooting goes wrong. People jump straight to the grinder because that is the advice everywhere, and then they spend a week chasing a problem that was never the grind.
Work through it in this order instead.
1. Are the beans actually fresh? Coffee roasted more than about a month ago will not taste good no matter what you do to it. Stale beans pull fast, produce thin crema, and taste flat and papery in a way that reads as "bitter" to most people. No grind setting fixes this. Check the roast date on the bag, and if there is not one, that is its own answer. My post on where to buy freshly roasted coffee goes into why this matters more than any gear decision.
2. Is your ratio actually consistent? You cannot diagnose a shot you did not measure. If you are eyeballing the cup, your "bitter" shot and your "sour" shot might be 1:3 and 1:1.5 without you knowing. Weigh the coffee going in and the liquid coming out, every time, until it becomes automatic.
3. Now change the grind. One variable, two or three steps, one direction. Taste. Repeat. Changing grind and dose and temperature all at once teaches you nothing.
4. Then everything else. Temperature, tamp pressure, pre-infusion. These matter, but they are refinements, not rescues.
My baseline is 18 grams in, 36 grams out, in 25 to 30 seconds. That is a 1:2 ratio and it is a sane place to start with almost any bean. If you want the shorter, sweeter end of the spectrum, my ristretto post covers pulling at 1:1.3 and why that changes the taste.
When Bitter Is Just the Roast
This is the one almost no troubleshooting guide will tell you, and it saves a lot of wasted effort.
Dark roasts are more soluble. The roasting process has already broken the bean down, so compounds come out faster and the bitter ones arrive sooner. A dark roast pulled at the same settings as a medium roast will taste more bitter, and that is chemistry, not technique.
So if you are running a very dark, oily, "espresso roast" bag from the grocery store and every shot tastes burnt, you may be extracting perfectly well. You just do not like that roast. Grinding coarser will help a little. Buying a medium roast will help enormously.
The opposite is also true. Light roasts are dense and resist extraction, which is why they so often come out sour on a home machine. They need a finer grind, a hotter brew temperature, and more patience than most people expect. If you are new to espresso, a medium roast is a far kinder place to learn. My field guide to coffee beans breaks down what roast levels actually do.
What I Use to Keep Shots Consistent
None of this gear fixes a bad shot on its own. What it does is remove the variables you cannot see, so that when a shot goes wrong you actually know why.
The grinder does the most work. Mine is the TIMEMORE Sculptor 064S, and the reason it matters for extraction is repeatability. When I move two steps finer, I get two steps finer, and when I move back I land where I was. A grinder that cannot do that turns troubleshooting into guesswork, because you can never be sure whether the change you made is the change that happened. If you are choosing one, my home espresso grinder guide and my single dose grinder review cover the options.
👉 Grab the TIMEMORE Sculptor 064S on Amazon
A scale is the other half. Weighing the output is the only way to know your ratio, and ratio is the thing you are actually diagnosing. Something small enough to live on the drip tray with a built-in timer is all you need, and a Maestri House mini scale is the kind of thing that does the job without dominating the counter. Any scale with 0.1 gram resolution and a timer works.
👉 Check the current price of the Maestri House mini scale on Amazon
My machine is the Gaggia Classic Pro, which is relevant here for one specific reason: it has a non-pressurized basket. A pressurized basket forces crema regardless of what is happening underneath, which means it hides exactly the feedback you need to diagnose a shot. On a real basket, a bad shot looks bad. That is a feature when you are learning. My full take is in the Gaggia Classic Pro review.
👉 See the Gaggia Classic Pro on Amazon
One last habit that costs nothing: write down what you changed. Dose, yield, time, and one word about how it tasted. Three shots of notes will teach you more than three weeks of guessing. I got tired of doing that in a notebook and built Dialed Shots to do it on my phone. It is free, no ads, iPhone only.
Where to Go Next
If you are working through extraction problems, these are the posts that go deeper on each piece.
- WDT Tool for Espresso and Why You Need One, the channeling fix in detail.
- The Best Spring Loaded Coffee Tamper, if your tamp pressure is inconsistent.
- Ristretto: What It Is and How to Pull One, what happens when you deliberately extract less.
- Home Barista Starter Guide, the full kit in the order that matters.
- Best Espresso Machine Under $500, if the machine really is the limit.
Over Extracted Espresso FAQ
How do I know if my espresso is over extracted or under extracted?
Taste for the finish. Over extracted espresso is bitter and leaves your mouth dry and chalky. Under extracted is sour and sharp with a finish that vanishes. If you get both in one cup, it is channeling, not extraction.
Does a finer grind make espresso less bitter?
No, the opposite. A finer grind slows the water down and extracts more, which increases bitterness. If your shot is bitter, grind coarser.
Why does my espresso taste burnt even at the right time and ratio?
Usually the roast rather than the extraction. Dark, oily beans taste roasty and bitter by design and extract faster than medium roasts. Try a medium roast at the same settings before changing anything else.
Can old coffee cause a bitter shot?
Stale coffee more often tastes flat, papery, and hollow than truly bitter, but people commonly report it as bitter. Beans more than a month past roast are worth ruling out before you start adjusting your grinder.
What is the right ratio for espresso?
Start at 1:2, so 18 grams of coffee to 36 grams of liquid, in 25 to 30 seconds. Move shorter for a sweeter, more concentrated shot and longer for a lighter one.
The two failures are opposites, and once you can taste the difference between sour and dry, you have most of what you need. Sour means give the water more work to do. Bitter means give it less. Both at once means fix the puck, not the grind.
Change one thing at a time, write it down, and you will get there in a few days rather than a few months.
Regardless of which method you choose, you need the right station to support it. I have written deep-dive guides on how I organize my own counters for both workflows:
- For the consistent drip: My Work From Home Guide to the Best Coffee Setup
- For dialed Espresso: My Work From Home Guide to the Best Espresso Setup
And remember, the best brewer in the world can't save bad beans. I use Trade Coffee to ensure I always have fresh, single-origin bags ready to grind.

Featured photo by S K on Unsplash
Disclosure: This post contains affiliate links. If you buy something through them, I may earn a small commission, at no extra cost to you. It helps fuel the coffee, the testing, and the writing. Thanks for supporting the work.