If you are anything like me, you go through a significant amount of coffee every week. And if you are brewing at home, that means you are generating a lot of waste....

I independently research and test products to help you make the best choice. As an Amazon Associate I earn from qualifying purchases at no extra cost to you.
A vanilla latte at Starbucks runs about five dollars, and the vanilla syrup in it costs them pennies. The flavor base is mostly corn syrup with artificial vanilla, which is fine if you grew up on it, but homemade vanilla syrup is so much better for so much less money that it stops being a contest. Five minutes, three ingredients, under a dollar per batch, and it tastes like actual vanilla. Make it once, keep a bottle in the fridge, and your morning coffee gets noticeably better forever.
Three ingredients. That is it.
Equipment is whatever you already have:
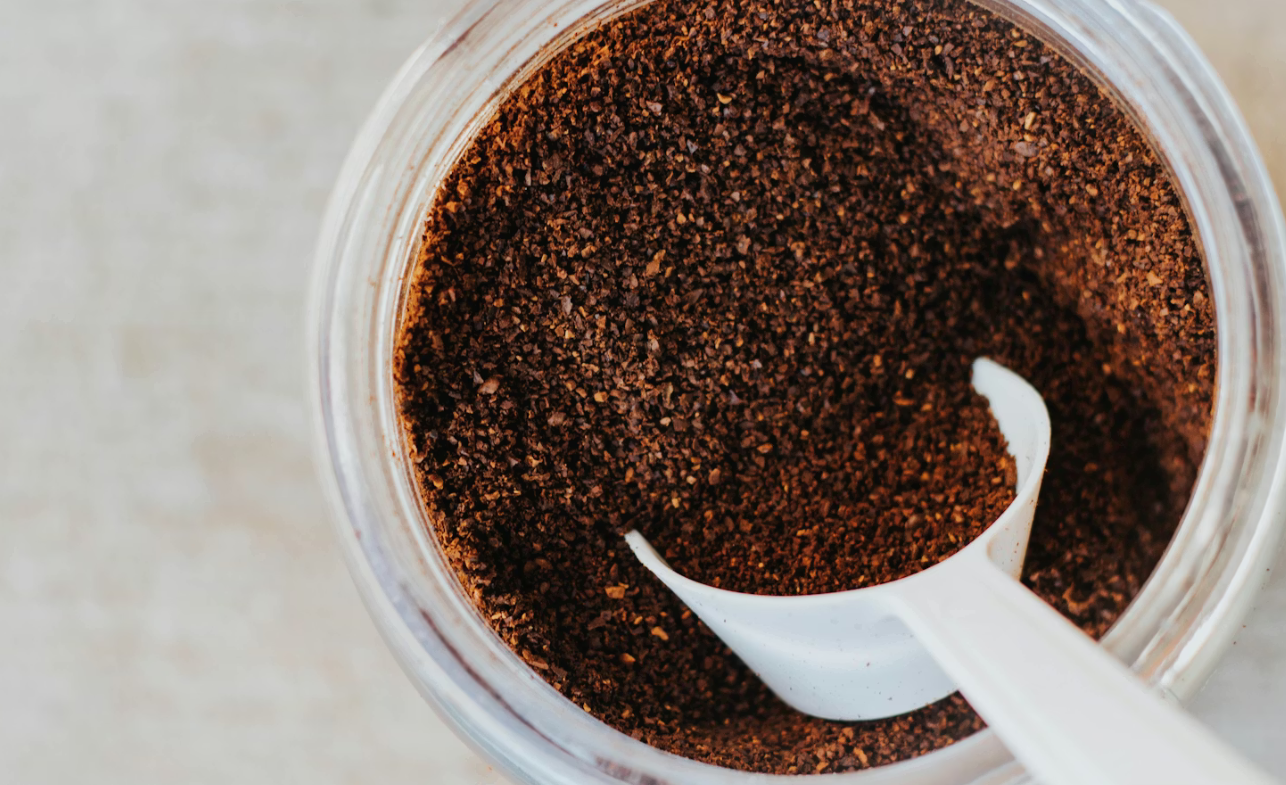
The syrup is the easy part. The harder question is what you are putting it into. Homemade vanilla syrup gives a flat or stale cup of coffee a bit of personality, but it cannot save bad beans. I run a Technivorm Moccamaster on the daily drip side, and I get fresh single-origin beans from Trade Coffee so the syrup has something good to work with. I keep the beans in a Fellow Atmos canister so they stay fresh for the two to three weeks I take to drink through a bag.
This is the whole thing. Six steps, five minutes of active work.
The part most recipes get wrong: they tell you to "simmer for 5 to 10 minutes" or "let it reduce." Do not reduce simple syrup. Once the sugar dissolves, you are done. Reducing it caramelizes the sugar, the syrup goes amber, and it tastes faintly burnt. The vanilla notes get drowned out by that caramel edge. Pull it off the heat the second the liquid clears.
Once you have the base recipe down, the variations are mostly swaps.
Brown sugar vanilla: Swap white sugar for brown sugar in equal parts. Adds a molasses depth that pairs beautifully with darker roasts and a splash of cream. This is my favorite for cold brew.
Maple vanilla: Skip the sugar and water entirely. Mix half a cup of real maple syrup with a teaspoon of vanilla extract. No heat needed, no waiting. The result is thinner than simple syrup but works great in iced coffee or oat milk lattes.
Concentrated syrup: Use a 2:1 ratio of sugar to water (1 cup sugar to half a cup water). Same method, slightly thicker pour. Use less per cup. Lasts longer in the fridge.
Cost math first. A bottle of decent vanilla extract is around eight dollars and lasts for at least 20 batches. White sugar is essentially free. Each batch of homemade vanilla syrup costs you under a dollar and yields about a cup, which is roughly 30 to 40 servings depending on how strong you like it.
Compare that to Starbucks. A pump of vanilla syrup is technically free in your drink, but the drink itself runs about five dollars. If you are getting one a day, that is $150 a month. Even just the upcharge for "vanilla flavor" on top of a regular drink is around 80 cents. Daily for a month is $24, just for syrup. A month of homemade syrup costs you maybe two dollars.
Quality is the other half. Real vanilla extract has actual vanillin from real vanilla beans. The cafe stuff is corn syrup, water, artificial flavor, potassium sorbate, citric acid, and caramel color. Both will sweeten your coffee. Only one of them tastes like vanilla.
Three things tend to go wrong the first time.
Skipping refrigeration: Simple syrup at room temperature grows mold within a week. In the fridge it lasts about a month. There is no reason to skip this step.
Using imitation vanilla extract: Imitation vanilla is mostly synthetic vanillin from wood pulp. It has a thin, sharp flavor that some people describe as tasting like band-aids. Buy actual vanilla extract, even the cheap pure variety. The bottle costs a few dollars more and lasts months.
Reducing the syrup too long: The recipe is dissolve, off heat, done. If you keep it on the burner past the dissolve point, you are caramelizing the sugar. The syrup gets darker and the vanilla gets harder to taste. Off the heat the second it clears.
Make it once and you will not buy syrup again. The whole process takes longer to clean the saucepan than to make the syrup. Pour it into iced coffee, stir into hot drip, or steam it into milk for a homemade vanilla latte. Pair it with a fresh single-origin from Trade Coffee and you will wonder what you were ever paying for.
If you decide you want to go further on the homemade-coffee front, my guide on skipping the McDonald's iced coffee is the natural next read. Same energy: the cafe version is fine, the homemade version is better and cheaper.
If you have been buying flavored coffee at the drive-thru and wondering whether you can pull it off at home, this recipe is the answer. Five minutes, three ingredients, a month in the fridge. The hardest part is remembering to make a fresh batch when the bottle runs out.
Once you have a vanilla syrup workflow dialed, the natural next step is dialing in the actual coffee. Fresh beans, the right grind, water at the right temperature: that is where the difference between a fine cup and a great one shows up.
Regardless of which method you choose, you need the right station to support it. I have written deep-dive guides on how I organize my own counters for both workflows:
And remember, the best brewer in the world cannot save bad beans. I use Trade Coffee to ensure I always have fresh, single-origin bags ready to grind.

Disclosure: This post contains affiliate links. If you buy something through them, I may earn a small commission, at no extra cost to you. It helps fuel the coffee, the testing, and the writing. Thanks for supporting the work.
If you are anything like me, you go through a significant amount of coffee every week. And if you are brewing at home, that means you are generating a lot of waste....
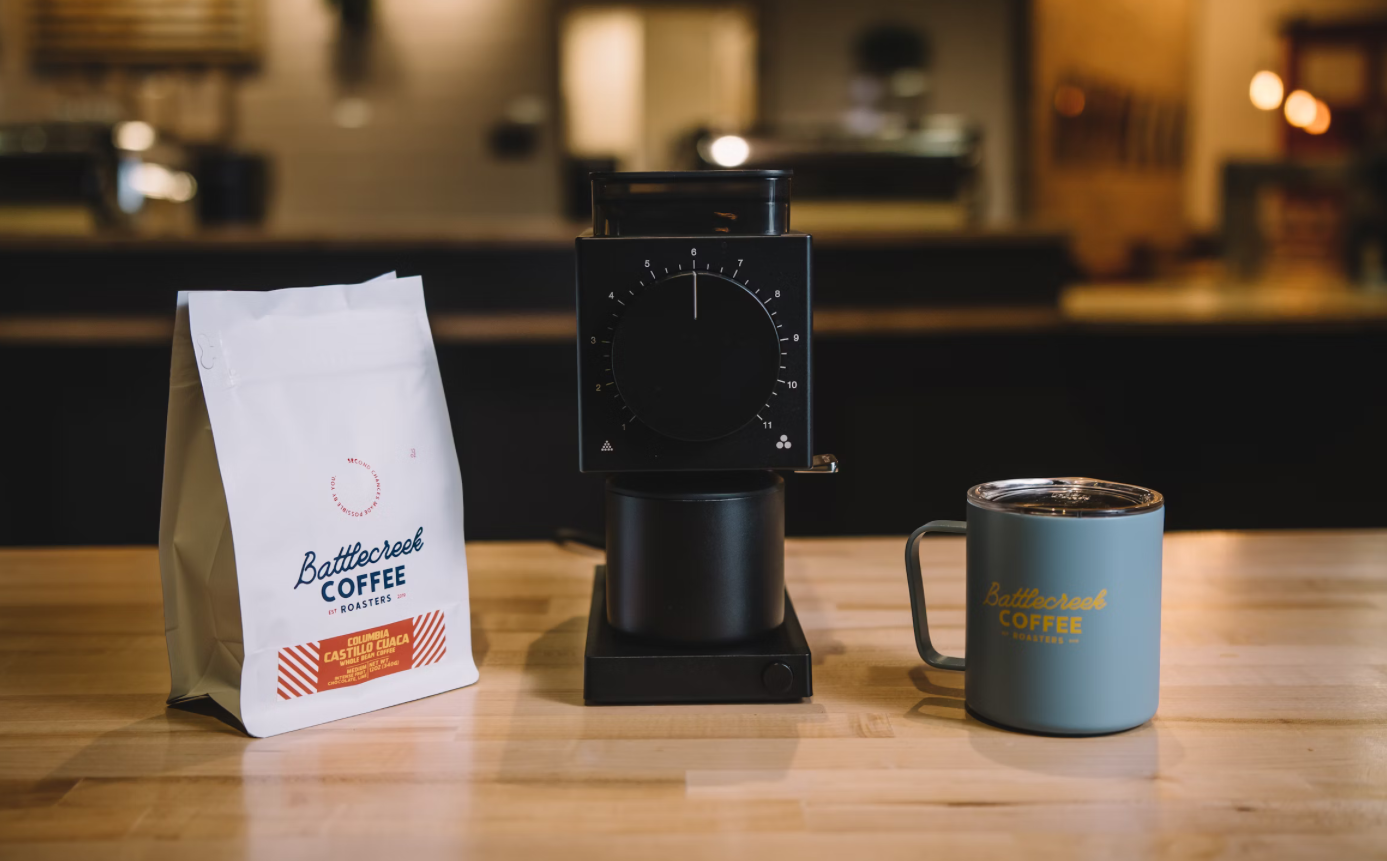
For Christmas last year I decided to make the switch to the Fellow Ode Gen 2 from the Baratza Encore, and I haven’t looked back. If you’ve followed my coffee journey,...