Daniel Norris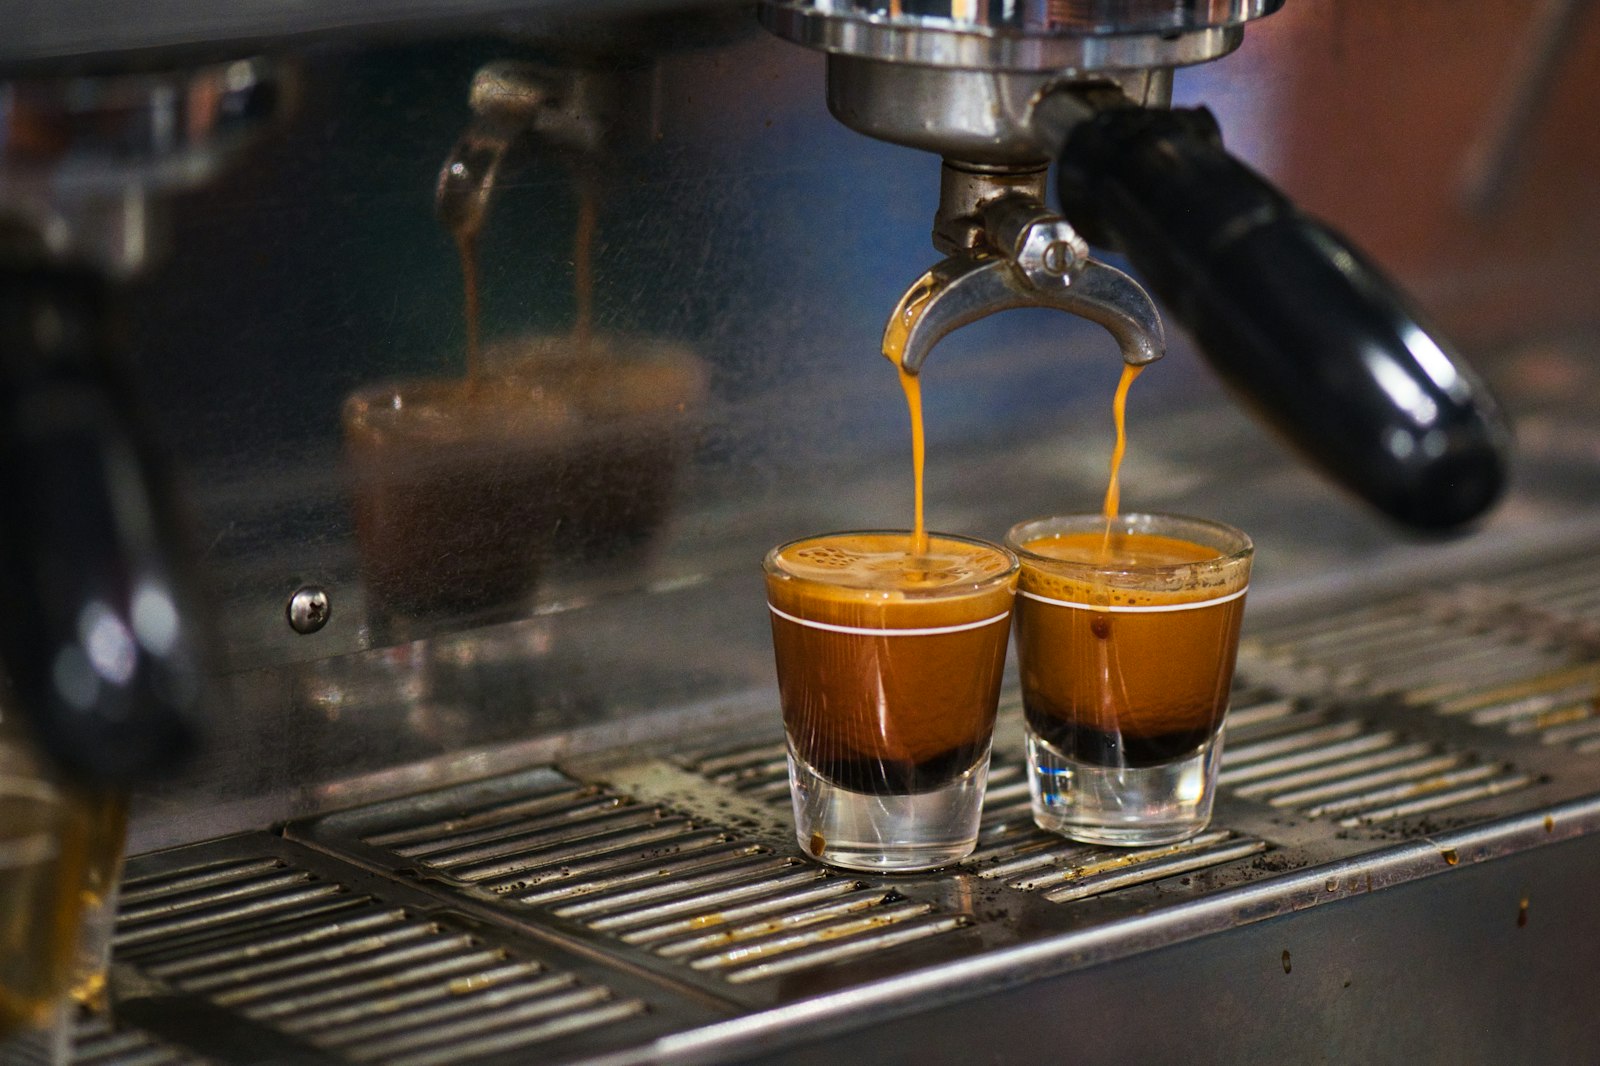
I independently research and test products to help you make the best choice. As an Amazon Associate I earn from qualifying purchases at no extra cost to you.
An espresso double shot is the base of almost every coffee I make at home. My long black, the long black I make for Jess with a little milk, and my cortados all start with the same shot: 18 g of ground coffee in, 36 g of espresso out, weighed every time.
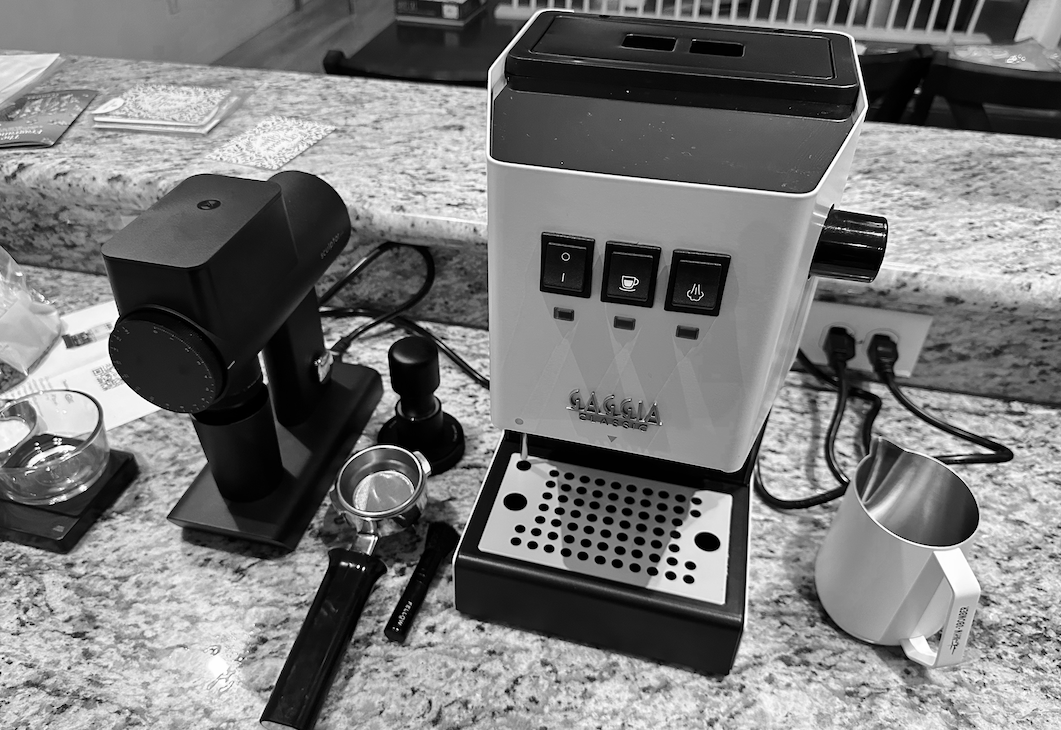
I pull it on my Gaggia Classic Pro, and this is the routine step by step, plus what to change when a shot runs too fast or too slow. You need a scale and a little patience, and that is about it.
👉 Check the current price of the Gaggia Classic Pro on Amazon
What Is an Espresso Double Shot?
A double shot is espresso made with about twice the coffee of a single, pulled through the double basket of the portafilter. Most home recipes use somewhere between 14 and 20 g of ground coffee, and the usual starting ratio is 1:2. That means the liquid espresso in your cup weighs twice as much as the dry coffee you put in.
Three numbers describe any shot. Dose is the dry coffee going in, yield is the espresso coming out, and time is how long the pump runs. Around 25 to 30 seconds is the common starting point for a 1:2 shot, and you adjust from there by taste.
Weigh it instead of measuring by volume. Crema makes a fresh shot look bigger than it is, so the lines on a shot glass will tell you very little about what is actually in the cup.
What You Need for an Espresso Double Shot
The ingredient list is one line long:
- 18 g of fresh whole coffee beans per double shot, ground right before you brew.
The gear list is longer:
- An espresso machine with a 58 mm portafilter and a double basket.
- A grinder that can go fine enough for espresso.
- A scale that reads to a tenth of a gram, with a timer.
- A WDT tool and a flat tamper.
My old drip grinder couldn't go fine enough for espresso, which is why I moved to the TIMEMORE Sculptor 064S. It is a single-dose grinder: I weigh 18 g of beans, drop them in, and close to all of it comes out the other side. Low retention means the dose I weigh is the dose in my basket. It is also quiet.
👉 Grab the TIMEMORE Sculptor 064S on Amazon
I weigh beans and shots on a BOOKOO Bluetooth espresso scale. It syncs with Dialed Shots, the iPhone app I built to log my espresso shots. A scale is one of the two things I thought I didn't need until I bought one. The grinder is the other.
👉 Check the current price of the BOOKOO espresso scale on Amazon
For puck prep, I use a Normcore WDT tool, a handful of fine needles for breaking up clumps in the grounds before you tamp. I explain why it helps in my post on the WDT tool for espresso.
👉 Grab the Normcore WDT tool on Amazon
Then I tamp with the TIMEMORE 58mm tamper. It is heavy stainless steel with a flat base, so it does most of the work of keeping the puck level.
👉 See the TIMEMORE 58mm tamper on Amazon
How I Pull an Espresso Double Shot, Step by Step
- Turn the machine on and let it heat. The Gaggia only takes a few minutes. I don't use a timer or a smart plug for it. Part of why I love espresso is that it slows my morning down, and I'm not in a hurry to fix that. Lock the empty portafilter in while it heats so the metal warms up too.
- Weigh 18 g of beans. Put a small cup on the scale, tare it, and weigh the dose. Whole beans, not pre-ground.
- Grind into the portafilter. Grind straight into the basket or into a dosing cup, then tip the grounds into the basket.
- Stir with the WDT tool. Move the needles through the grounds in small circles from the bottom to the top. You're breaking up clumps and evening out the bed so water can't find an easy path through it.
- Tamp level. Set the tamper flat on the grounds and press down firmly once. Level matters more than force. A tilted puck lets water rush through the thin side.
- Lock in, cup on the scale, tare. Put your cup on the scale under the spouts and zero it, so the only thing it weighs is the espresso.
- Pull to 36 g. Start the pump and the timer together. Watch the scale, not the cup, and stop the pump just before it reads 36 g, because a few more drips will land after you stop.
- Taste it, and write it down. Note the time the shot took and how it tasted. I log each shot in Dialed Shots, so I can see what I changed yesterday when a new bag starts acting up.
- Knock out and flush. Knock the puck into the bin, then run a short burst of water through the group to rinse off the grounds left on the shower screen.
The part most recipes get wrong is step 7. A lot of them tell you to stop a shot at a set number of seconds. Watch the time, but stop on weight, and let the time tell you whether the grind needs to change.
Dialing In Your Double Shot When It Runs Fast or Slow
Keep the dose at 18 g and the yield at 36 g, and change only the grind. If you change two things at once, you won't know which one fixed it.
The shot runs fast and tastes sour or thin. If you hit 36 g well before 25 seconds, the water is moving through too quickly and pulling out too little. Grind a little finer and pull again.
The shot runs slow and tastes bitter or harsh. If it takes well past 30 seconds to reach 36 g, the water is pulling out too much. Grind a little coarser.
Move in small steps, one shot at a time. A new bag of beans usually needs a few adjustments, especially if it's a different roast level from the last one. For more on reading the taste, my guide to over extracted espresso and why a shot tastes bitter or sour goes deeper.
Variations on the Double Shot
Long black. This is what I drink every morning, black. Hot water goes in the cup first, then the double shot on top, so the crema stays. The full method is in my post on long black coffee. Jess's version gets a little milk added.
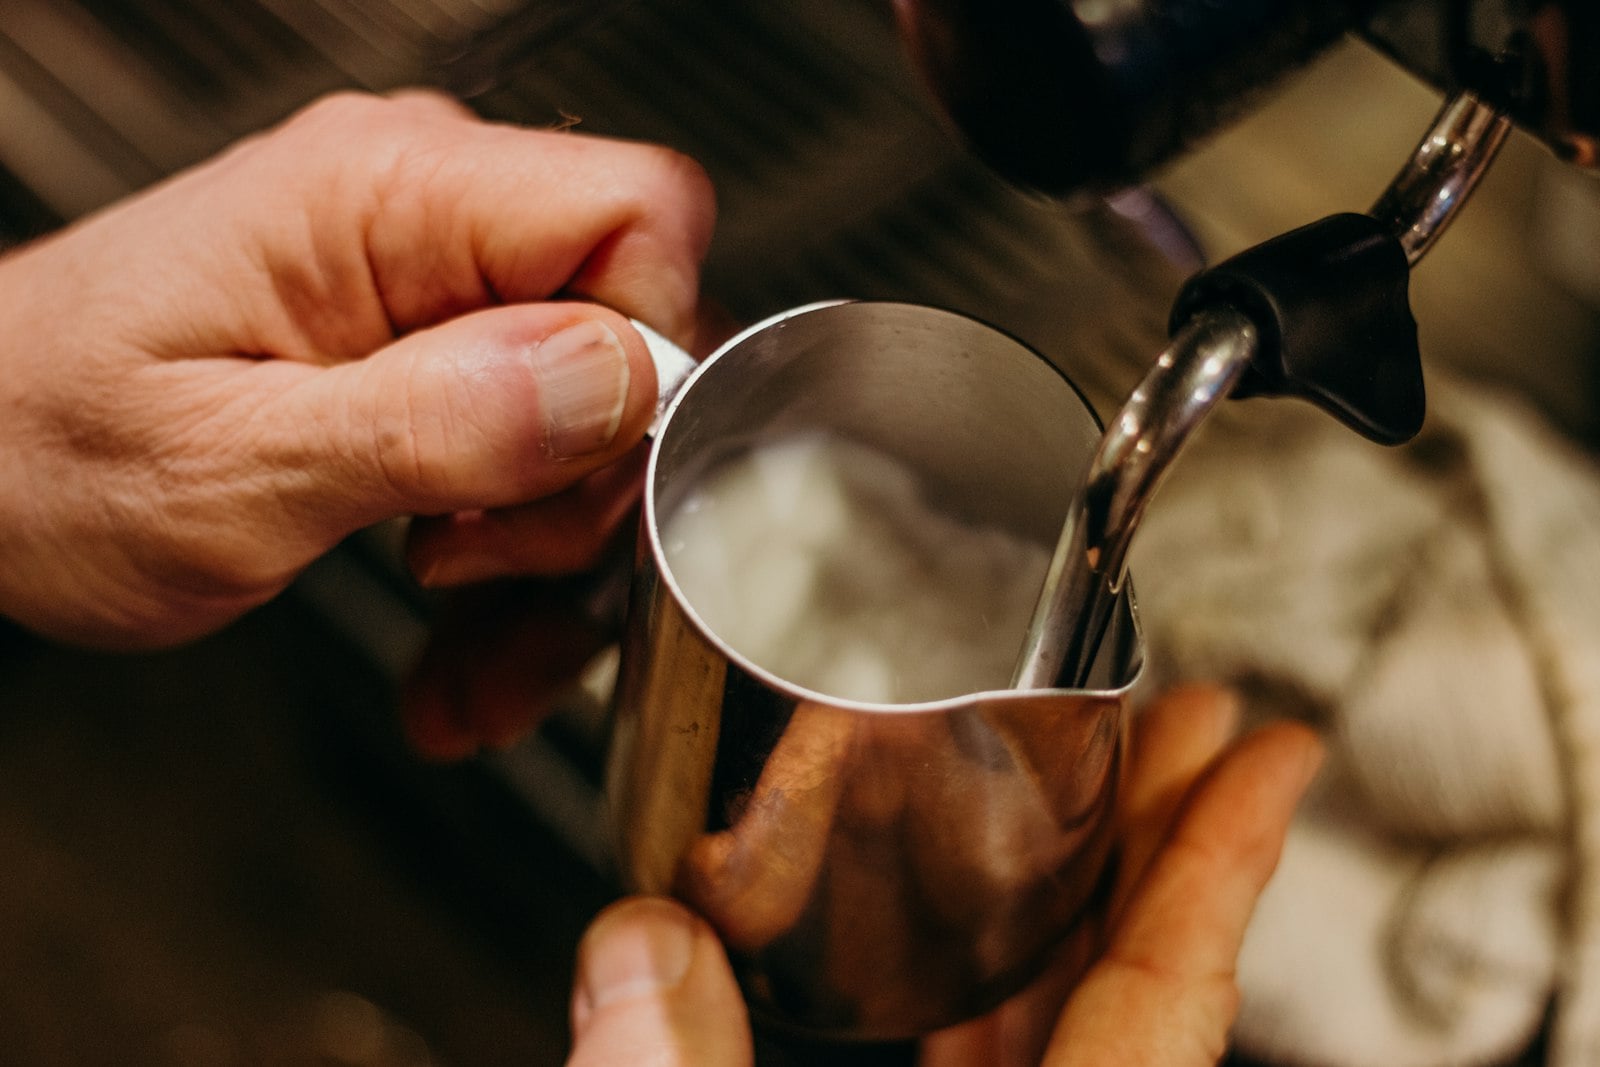
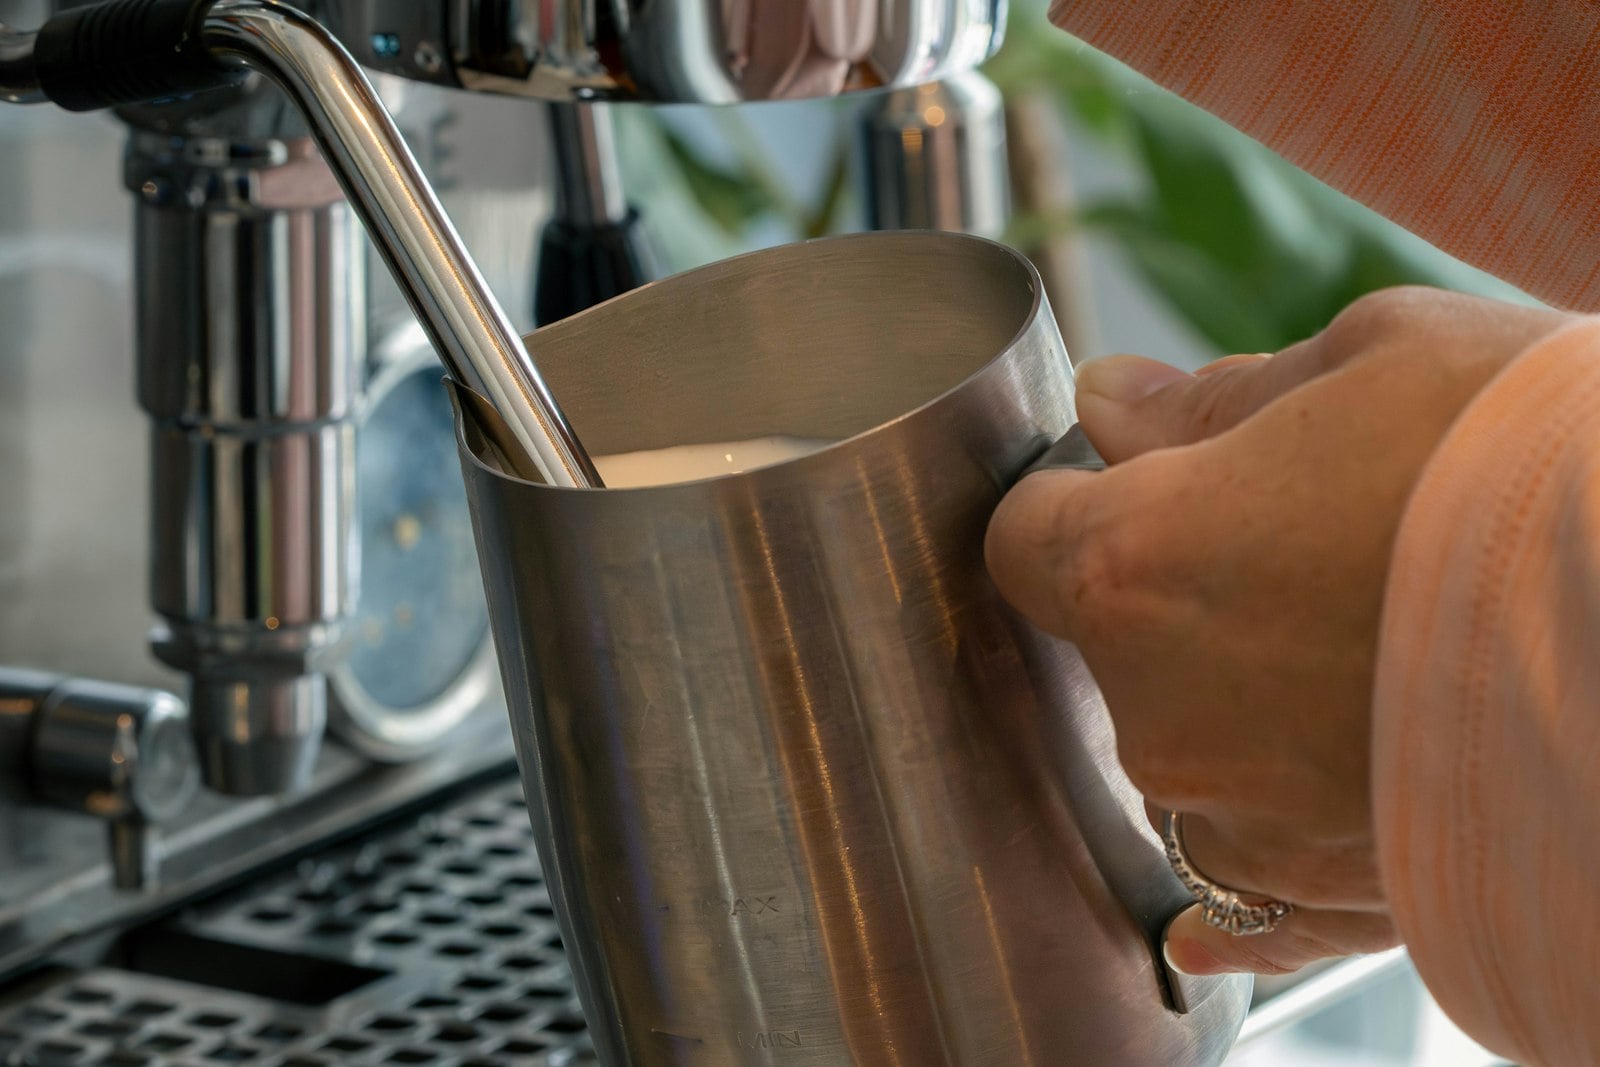
Cortado. Pour roughly equal parts steamed milk over the shot. It is my favorite way to drink espresso with milk, and my guide on how to steam milk for espresso covers the milk side.
Ristretto. Same dose, but stop much earlier, at around 1:1 to 1:1.5. You get a shorter, sweeter, heavier shot. My post on the ristretto shot explains when it's worth pulling.
Why a Double Shot at Home Beats the Cafe
A double at a cafe costs a few dollars. At home it costs whatever 18 g of your bag costs, and you get to pick the bag. The beans are ground seconds before brewing, not hours.
The bigger difference is control. You set the dose, the yield and the grind, and when a shot is off you know exactly which number to move. That is hard to get from a cafe, where the recipe is someone else's.
The machine is the bigger investment. If you don't have one yet, my full Gaggia Classic Pro review covers what it is like to live with every day, and my post on the single dose coffee grinder worth the investment covers the grinder.
Common Mistakes With an Espresso Double Shot
Measuring by volume. Crema throws off any shot glass. Use a scale for the beans and the shot.
Chasing the clock. Stopping at 25 seconds no matter what came out means every shot has a different ratio. Stop on weight, then adjust the grind.
Using pre-ground coffee. Espresso needs a fine, fresh grind, and pre-ground coffee goes stale fast. You can't adjust its grind either, which takes away the main thing you have to dial in with.
The double shot is the one thing worth getting right before anything else on an espresso machine. Weigh 18 g in, stop at 36 g out, and let the taste tell you which way to move the grinder.
Once the shot is consistent, the next step is setting up the station around the Gaggia Classic Pro, so the grinder, scale and tamper all sit within reach of the portafilter.
Regardless of which method you choose, you need the right station to support it. I have written deep-dive guides on how I set up for each one, at home and on the road:
- For the consistent drip: My Work From Home Guide to the Best Coffee Setup
- For dialed Espresso: My Work From Home Guide to the Best Espresso Setup
- For coffee on the road: My Guide to the Best Travel Coffee Setup
And remember, the best brewer in the world can't save bad beans. I use Trade Coffee to ensure I always have fresh, single-origin bags ready to grind.
Featured photo by Kevin Butz on Unsplash

Disclosure: This post contains affiliate links. If you buy something through them, I may earn a small commission, at no extra cost to you. It helps fuel the coffee, the testing, and the writing. Thanks for supporting the work.