Daniel Norris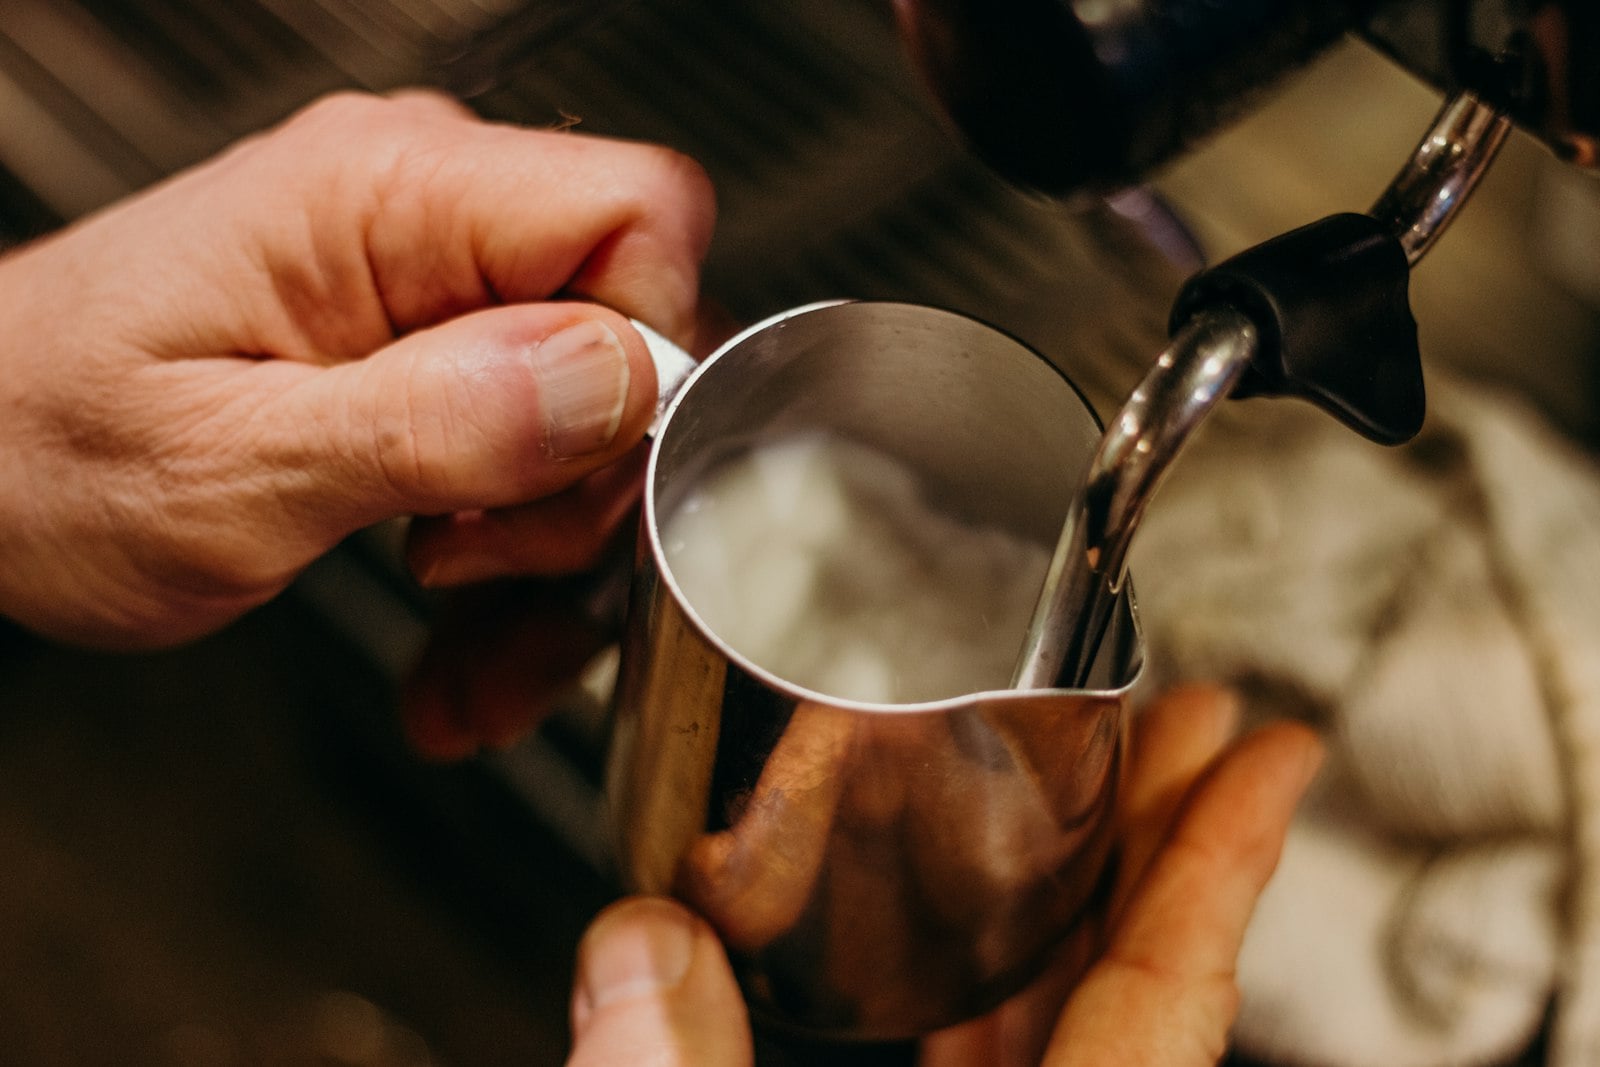
I independently research and test products to help you make the best choice. As an Amazon Associate I earn from qualifying purchases at no extra cost to you.
If you want to steam milk for espresso at home, the good news is that it takes less than a minute and no special training. A good shot under thin, bubbly milk still tastes like a cheap latte, so the milk is worth learning properly.
I steam milk on my Gaggia Classic Pro for cortados, which I love, and the odd latte. This is the routine I use on a home machine, written for someone standing at their counter with a pitcher of cold milk and no idea where to put the wand.
👉 Check the current price of the Gaggia Classic Pro on Amazon
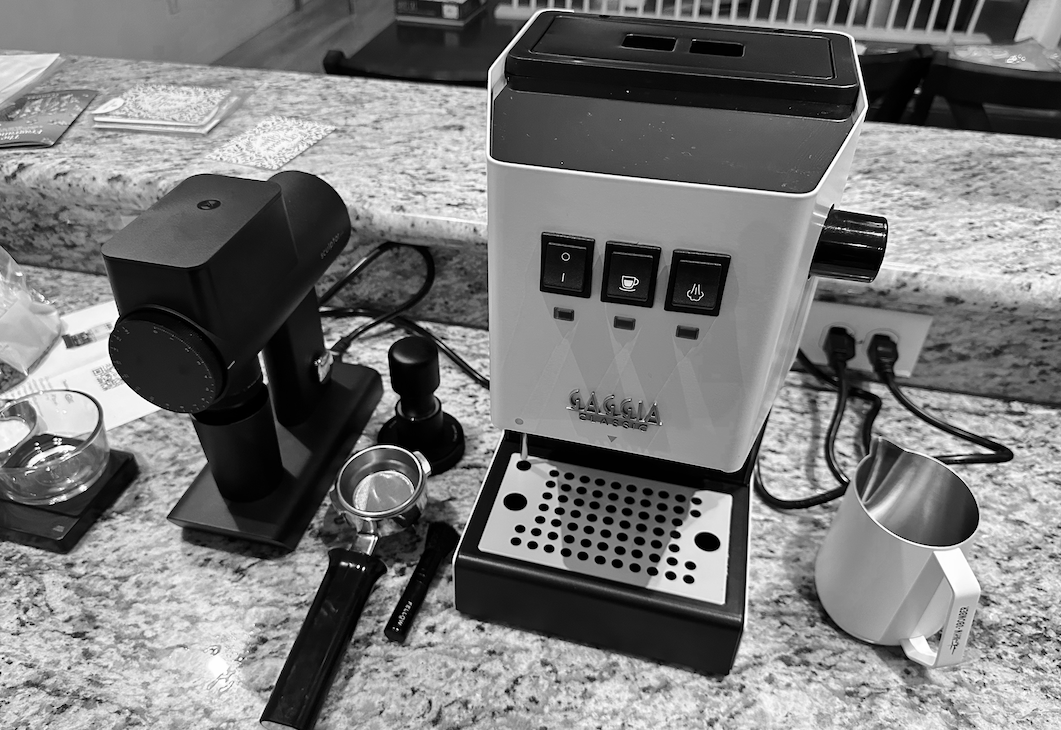
What You Need to Steam Milk for Espresso
The ingredient list is short:
- Cold dairy milk, straight from the fridge. Whole milk is the easiest to learn on, because the fat makes the texture more forgiving. I always use regular dairy milk.
- A fresh double shot of espresso, pulled before you steam.
The gear list is short too:
- An espresso machine with a steam wand.
- A stainless steel milk pitcher with a sharp spout.
- A damp cloth for the wand.
- A scale for the shot, if you want the drink to taste the same every day.
The pitcher I use is the MHW-3BOMBER Milk Frothing Pitcher. Stainless steel lets you feel the temperature through the side, and the narrow spout gives you some control when you pour. It is also what I use to measure and pour the cold milk for my iced cortados, so it earns its spot on the counter even on days I don't steam.
👉 Grab the MHW-3BOMBER Milk Frothing Pitcher on Amazon
For the shot, I weigh everything on a BOOKOO Bluetooth espresso scale. The shot I pull for my long blacks on the Gaggia is 18 g of coffee in and 36 g of espresso out. Milk hides a lot, but it can't hide a sour or bitter shot, so it is worth getting the espresso right first.
👉 See the BOOKOO espresso scale on Amazon
How to Steam Milk for Espresso, Step by Step
- Pull the shot first. The Gaggia is a single boiler machine, so it brews at one temperature and steams at a higher one. Brew, then flip the steam switch and wait for the ready light. My explainer on the single boiler espresso machine covers why.
- Fill the pitcher with cold milk. Pour to just below where the spout starts. Too little milk and the wand can't make it spin. Too much and it climbs over the top. Even for a small cortado, steam a little more than you need and pour off the rest.
- Purge the wand. Point it at the drip tray and open the steam knob for a second or two. That blows out the water sitting in the wand, so it doesn't end up in your milk.
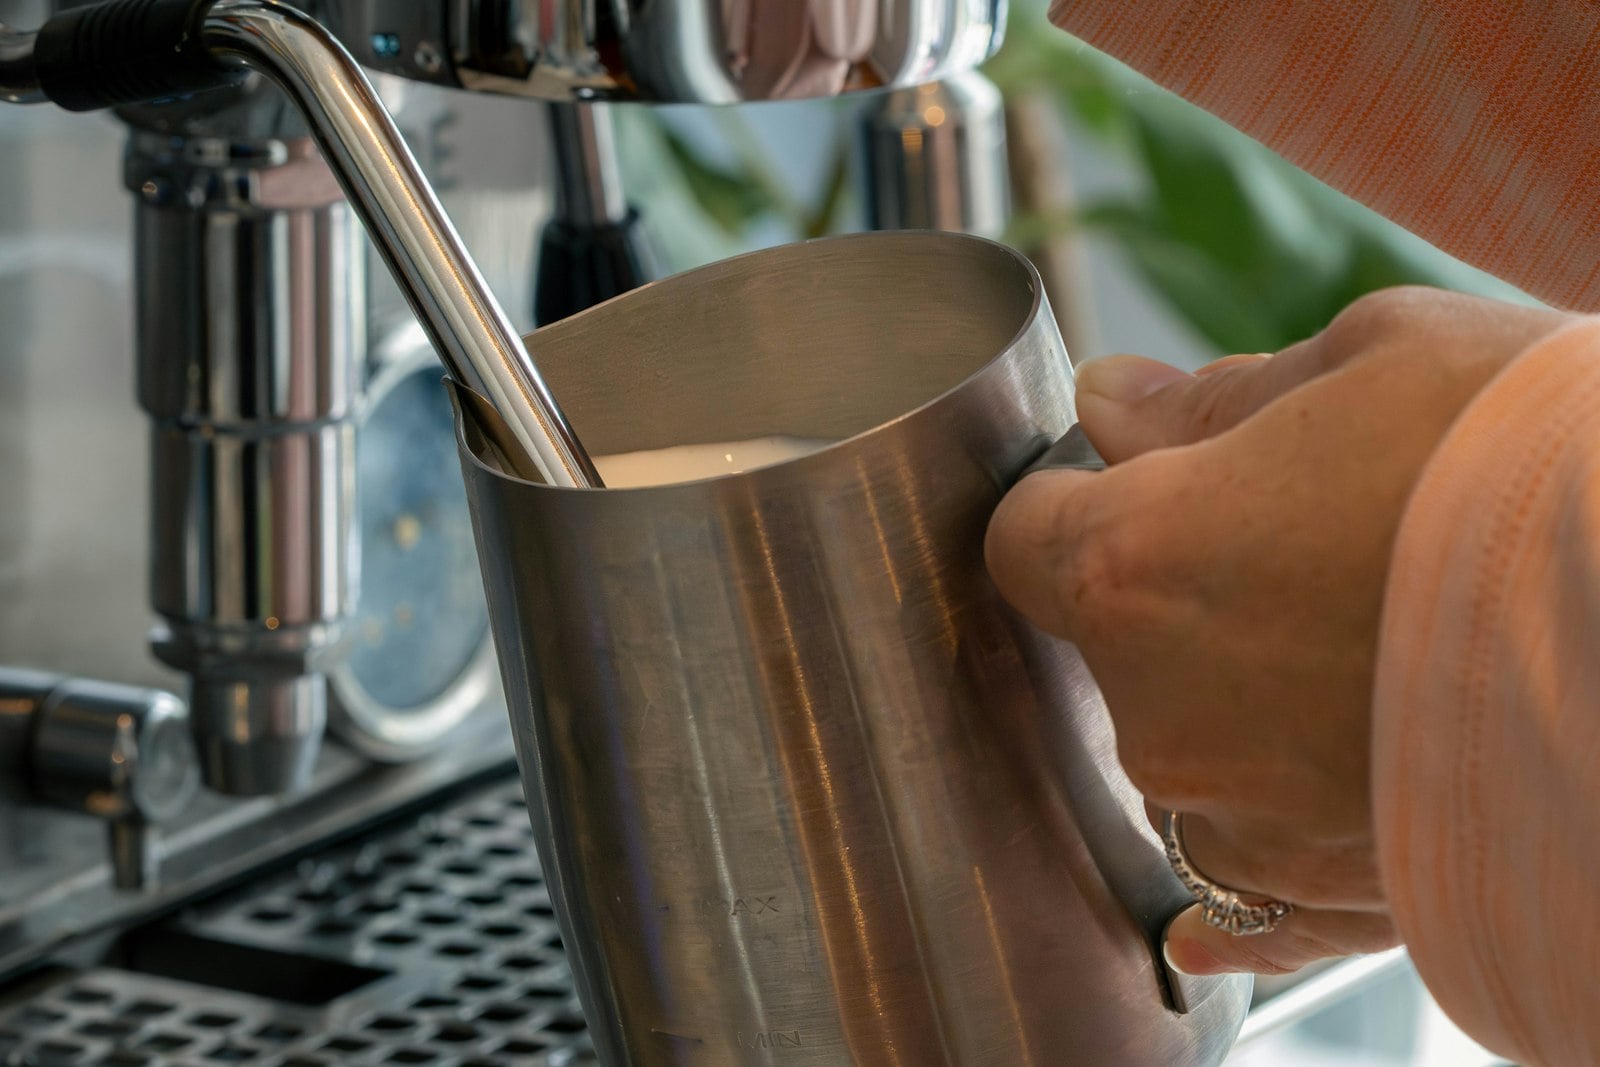
- Set the tip. Hold the pitcher level and put the steam tip just under the surface of the milk, a little off center toward the spout side.
- Stretch. Open the steam fully. You should hear a soft hiss, like paper tearing. That sound is air going in. Keep the tip near the surface and let the milk rise by about a third for a latte, or a little less for a cortado.
- Texture. Raise the pitcher slightly so the tip sits a bit deeper. The hiss goes quiet and the milk starts to spin in a whirlpool. That spin breaks the bigger bubbles into microfoam, bubbles so small you can't see them.
- Stop at hand-hot. Keep your other hand flat on the side of the pitcher. When it gets too hot to hold for more than a second or two, close the steam. That is roughly 140 to 150°F (60 to 65°C), which is where milk tastes sweetest.
- Clean the wand straight away. Wipe it with the damp cloth and purge it again for a second. Milk dries fast on a hot wand and gets baked on if you leave it.
- Tap, swirl, pour. Knock the pitcher on the counter once to pop any big bubbles, then swirl until the milk looks like wet paint. Pour it into the espresso straight away, before the foam separates.
The part most guides skip is step 7. People stretch well, then keep going because the milk doesn't look done. Milk past about 160°F starts to taste flat and slightly cooked, and the foam goes stiff. If in doubt, stop early. A slightly cooler drink tastes better than a scalded one.
If your machine has a plastic or metal sleeve on the end of the wand, steps 4 to 6 work differently, because the sleeve pulls in air for you. My post on the panarello steam wand explains what that sleeve does and when to take it off.
Variations on Steamed Milk
Cortado. This is the one I make. Stretch the milk only a little, so it stays mostly liquid and silky, then pour roughly equal parts milk and espresso. It is my favorite way to drink espresso with milk, and I wrote about why in espresso with milk: why the cortado is my favorite.
Latte. Stretch a bit longer for a thin layer of foam and use more milk. If you want something sweet, my vanilla latte at home guide builds on this exact routine.
Cappuccino. Stretch longer again, until the milk has grown by about half, for a thicker cap of foam. My post on espresso vs cappuccino covers how the milk changes each drink.
Why Steaming Milk at Home Beats the Cafe
A milk drink at a cafe costs a few dollars. At home, the milk in a cortado costs cents, and the coffee in it is whatever fresh bag you picked, ground seconds before you brewed it.
The bigger win is control. You choose the bean, the shot and how hot the milk gets. Plenty of cafes steam milk hotter than this, and at home you can stop at hand-hot every time.
It also doesn't take long. Steaming takes well under a minute once you have the routine, and cleaning the wand takes a few seconds more. The machine is the bigger investment. If you don't have one yet, my full Gaggia Classic Pro review covers what it is like to live with every day.
Common Mistakes When You Steam Milk for Espresso
Starting with warm milk. Milk from the counter heats up before you've had time to texture it. Use it straight from the fridge.
Burying the tip too early. If the milk just gets hot with no hiss, no air went in. Start near the surface, then go deeper.
Letting it scream. A loud screech or big spitting bubbles means the tip is too high. Lower the pitcher a touch until the sound turns into a steady hiss.
Latte art comes after all of this. I sort of pour something resembling it on my cortados, and I am horrible at it. Good milk gets you most of the way there, and the rest is practice I clearly still need.
A pitcher that is too big or has a blunt spout makes all of this harder. If yours fights you, the MHW-3BOMBER pitcher is the one I use.
👉 Check the current price of the MHW-3BOMBER pitcher on Amazon
Steaming milk for espresso is mostly about where the tip sits. Keep it near the surface while air goes in, sink it a little while the milk spins, and stop before the pitcher gets too hot to hold.
If milk drinks are becoming a daily thing in your house, the next step is building a station around the machine, so the grinder, scale and pitcher all sit within reach.
Regardless of which method you choose, you need the right station to support it. I have written deep-dive guides on how I set up for each one, at home and on the road:
- For the consistent drip: My Work From Home Guide to the Best Coffee Setup
- For dialed Espresso: My Work From Home Guide to the Best Espresso Setup
- For coffee on the road: My Guide to the Best Travel Coffee Setup
And remember, the best brewer in the world can't save bad beans. I use Trade Coffee to ensure I always have fresh, single-origin bags ready to grind.
Featured photo by Jackson Schaal on Unsplash

Disclosure: This post contains affiliate links. If you buy something through them, I may earn a small commission, at no extra cost to you. It helps fuel the coffee, the testing, and the writing. Thanks for supporting the work.